
An activity you can start today
Tape Toy Rescue
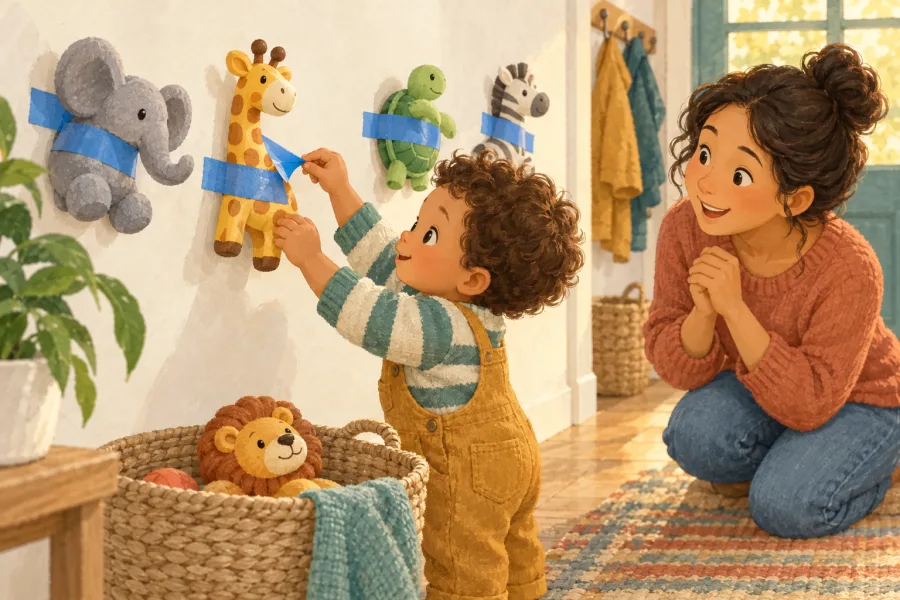
Tape their favorite toys to the wall and watch a tiny rescue mission unfold.
Know before you start
At a glance
- Setup
- 3 min
- Cleanup
- 2 min
- Mess
- low
- Energy
- moderate
- Adult help
- nearby
Before you start
- Use low-tack painter's tape rather than packing tape, and test it on a hidden spot before placing it on paint or wallpaper.
- Tape toys at your child's chest height so they can work standing without reaching up.
- Put the rescue basket right below, so 'done' has an obvious place to go.
Step by step
Let’s play
- Choose the rescue zone. A clear stretch of wall, the high chair tray, or a plastic tray — anywhere tape sticks and your child can stand or sit comfortably.
- Tape the toys down. One or two strips of painter’s tape across each toy. Leave a corner of tape lifted for beginners.
- Sound the alarm. “Oh no — the animals are stuck! Can you rescue them?” Show one rescue slowly, then hand over the job.
- Rescue and collect. Each freed toy goes into the basket. Peeled tape goes to you (or gets balled up — also fun).
- Restick and repeat. The same setup runs several rounds — most toddlers immediately ask for the toys to be trapped again.
See it in action
Watch this activity
Video: “40 Easy DIY Toddler Activities for Busy Parents” by Lily b Coco on YouTube — cued to the moment this activity is shown.
The child’s-eye view
Why kids love it
Their own toys are trapped and only they can free them. Every rescue is a tiny drama with a happy ending, and the ripping sound of the tape is half the reward.
Built into the fun
What they’re learning
Gripping a tape edge and peeling it back asks the fingers to pinch, pull, and maintain their hold against light resistance.
The child must hold the toy AND unstick it at the same time, sequencing two actions toward one goal.
A tape edge that takes two or three attempts gives the child a manageable reason to change grip and try again.
Make it fit your child
Ways to change the game
Rescue and sort
For 2–3 year olds, add labeled bins: rescued sea animals swim to the blue bowl, land animals go to the green one. One activity becomes two.
Travel version
For supervised travel, place a few short strips on a washable tray and collect each strip as soon as it is peeled off.
Tape only
For a younger toddler, a few short strips with folded-over tabs may be enough. Stay beside them and remove every loose strip.
Real-life fixes
If it’s not going to plan
The child pulls the toy and the tape rips the toy free instantly
Use a second strip or press the center more firmly, but keep one corner lifted so the task stays possible.
They lose interest after two rescues
Add a simple story: the dinosaurs are stuck in ice, or the ducks need to return to their pond. Stop when the child is ready to move on.
Good to know
Frequently asked questions
What age is Tape Toy Rescue for?
It can work once a toddler deliberately grasps and pulls, often sometime after the first birthday. Begin with a large lifted tab and one easy toy; add firmer tape or sorting later.
Will painter's tape damage walls or furniture?
Low-tack painter's tape is usually easier to remove than packing tape, but no tape is safe for every finish. Test a hidden spot first and avoid fresh paint, delicate wallpaper, and flaking surfaces.
Kidtivity Lab activity guide · Last updated
Try next
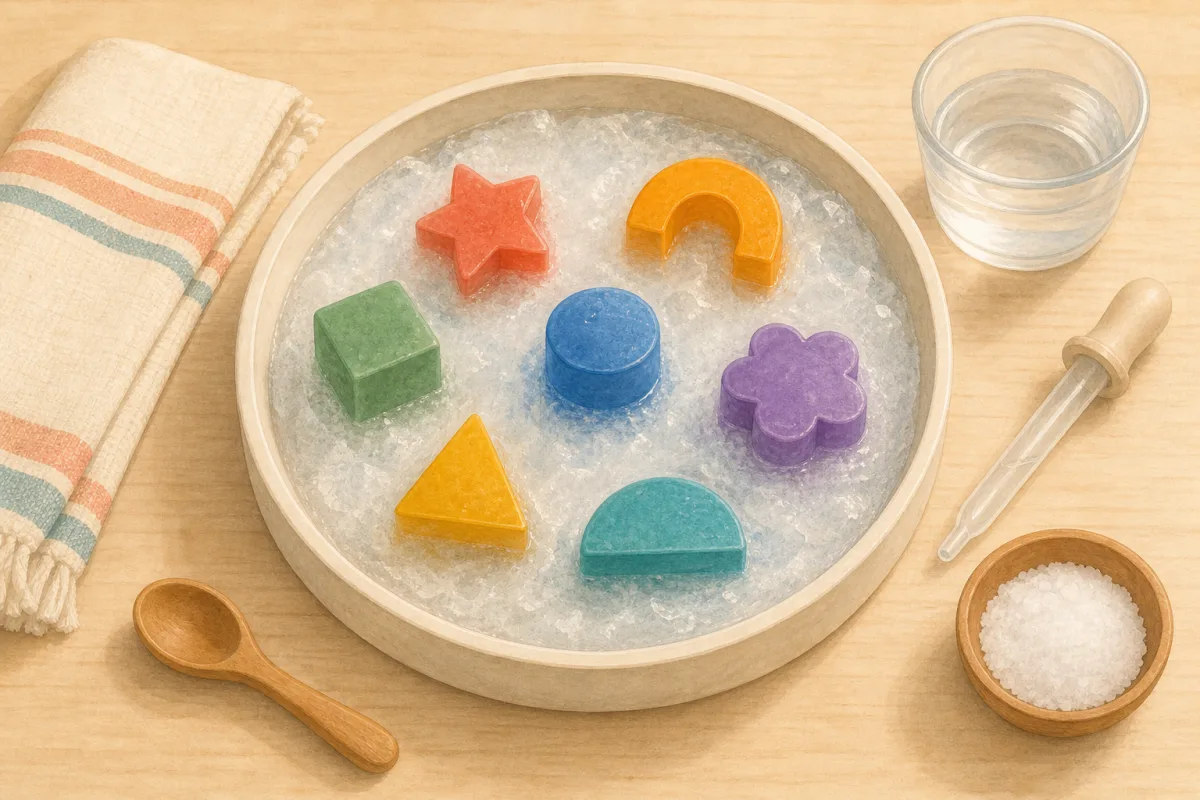
Rainbow Ice Rescue
Free colorful toys from ice with warm water, salt, and tiny tools.
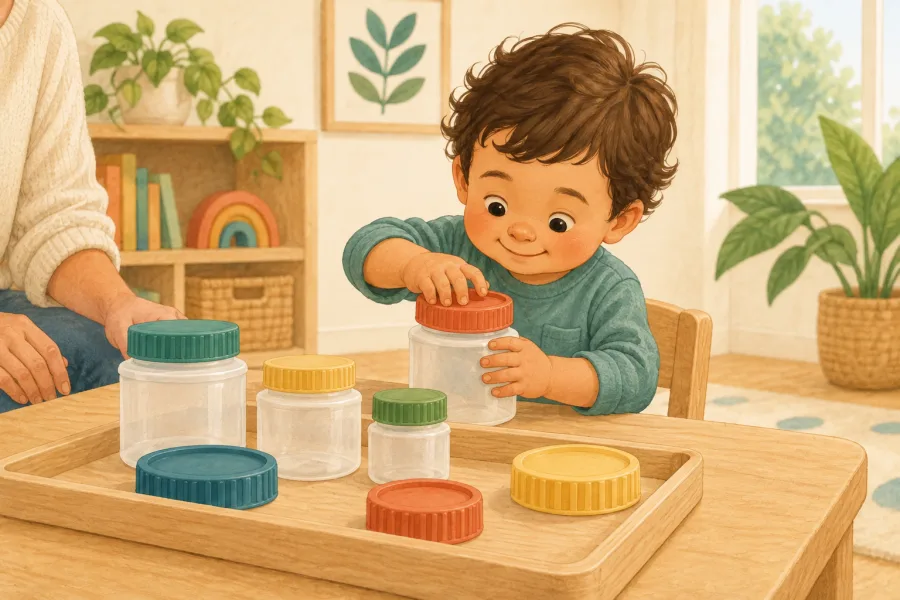
Bottle Cap Twist Station
A tray of jars and bottles with caps to twist off and on — real work for small serious hands.
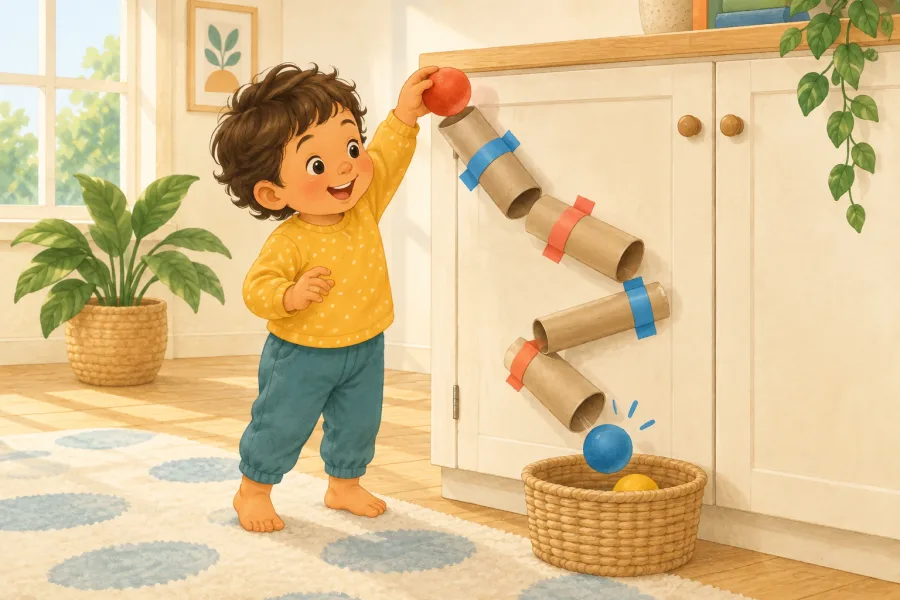
Cardboard Tube Drop
Tape paper towel tubes to the wall, hand over a cup of pom-poms, and watch gravity do the entertaining.