
An activity you can start today
Rainbow Ice Rescue
Free colorful toys from ice with warm water, salt, and tiny tools.
Know before you start
At a glance
- Setup
- 5 min
- Cleanup
- 5 min
- Mess
- medium
- Energy
- calm
- Adult help
- hands-on
Before you start
- Freeze the toys at least three hours ahead; a shallow container makes the rescue faster than a deep bowl.
- Place the ice on a rimmed tray with a folded towel underneath to catch drips.
- Use warm tap water, never hot water, and test it with your wrist before handing it to your child.
Step by step
Let’s play
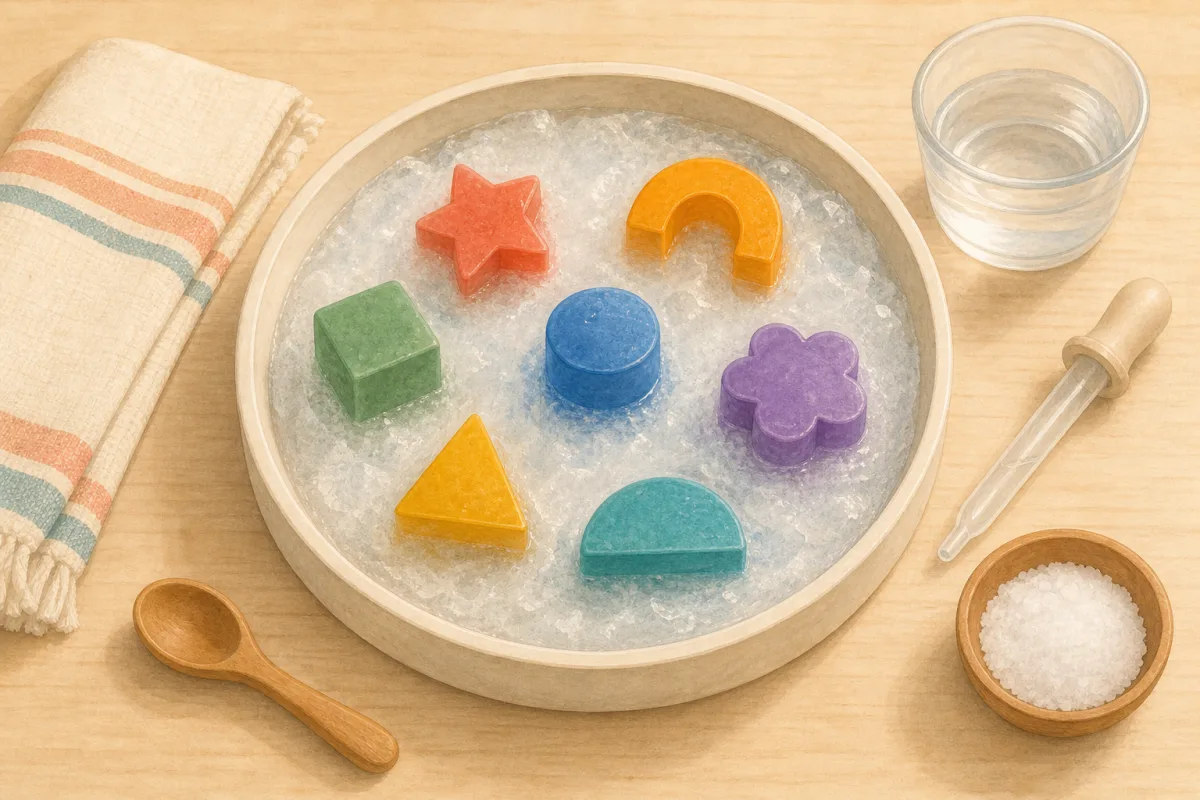
- Freeze the toys. Place small washable toys in an ice cube tray or bowl, cover with water, and freeze until solid (about 3 hours — do this in the morning or the night before).
- Set up the rescue station. A tray or towel, a bowl of warm water, a little dish of salt, and a dropper or spoon.
- Add warm water. Show how to drip warm water onto the ice and watch it carve tunnels.
- Sprinkle on salt. Salt melts the ice faster — talk about what’s happening.
- Keep rescuing until every toy is free. Cheer each rescue!
The child’s-eye view
Why kids love it
There is a tiny mystery inside every block: Which toy will come free first? Children can see their drips and sprinkles changing the ice immediately, so the slow rescue still feels full of small wins.
Built into the fun
What they’re learning
Squeezing a dropper and aiming at one spot builds the hand strength and precision later used for drawing and fastening clothes.
Children can compare what plain water and salt do to ice, then change their approach based on what they observe.
The toy does not pop out at once, so the game rewards trying, waiting, checking, and trying a new tool.
Make it fit your child
Ways to change the game
For younger toddlers
Freeze one large toy in a thin layer of ice and offer a spoon instead of a dropper. Let the rescue finish within five to ten minutes.
For older children
Offer warm water, room-temperature water, and salt. Ask for a prediction, time each method, and compare the results.
For siblings
Give each child one tool and make it a team rescue. Swap tools halfway through instead of racing for the first toy.
Real-life fixes
If it’s not going to plan
The ice is too hard
Let it rest at room temperature for five minutes, then pour a little warm water around the outside edge. Avoid using sharp tools.
Interest disappears quickly
Reveal part of one toy before play begins, or use a familiar favorite. A visible nose, wheel, or tail gives the rescue a clear target.
Everything gets very wet
Use less water in a small cup, keep the ice on a rimmed baking tray, and place an extra towel beside the child for wiping hands.
Good to know
Frequently asked questions
Can I make Rainbow Ice Rescue without a dropper?
Yes. A teaspoon, medicine syringe without a needle, sponge, or small squeeze bottle can all deliver warm water safely.
What can I freeze inside the ice?
Choose washable, waterproof toys that are too large to swallow. Plastic animals, chunky building pieces, and bath toys work well.
Can a two-year-old do this activity?
Yes, with close hands-on supervision, a large toy, a shallow layer of ice, and warm rather than hot water. Stop if the child begins mouthing the materials.
How long does the activity last?
Most children play for 15–30 minutes. A thinner block may take less time; a deep frozen bowl can take much longer.
Kidtivity Lab activity guide · Last updated
Try next
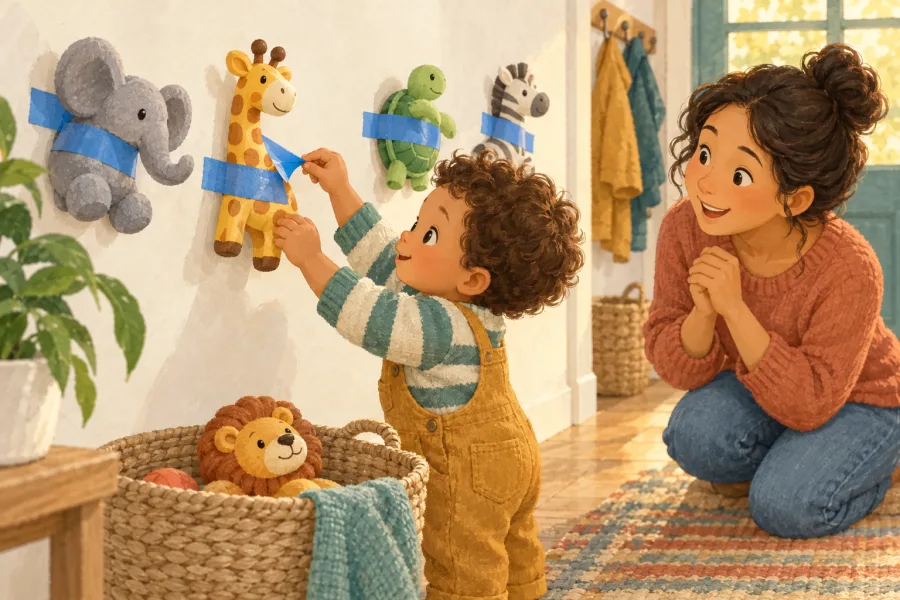
Tape Toy Rescue
Tape their favorite toys to the wall and watch a tiny rescue mission unfold.
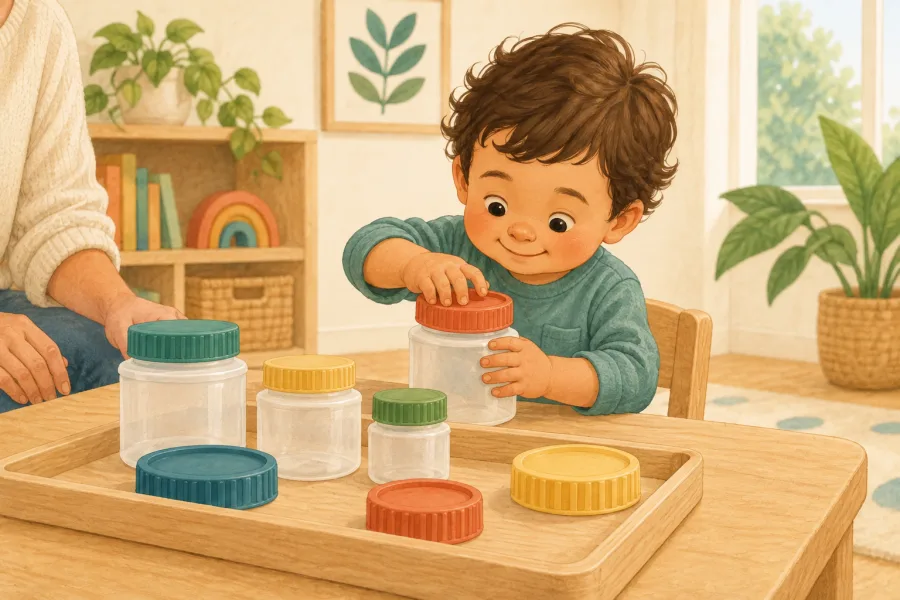
Bottle Cap Twist Station
A tray of jars and bottles with caps to twist off and on — real work for small serious hands.
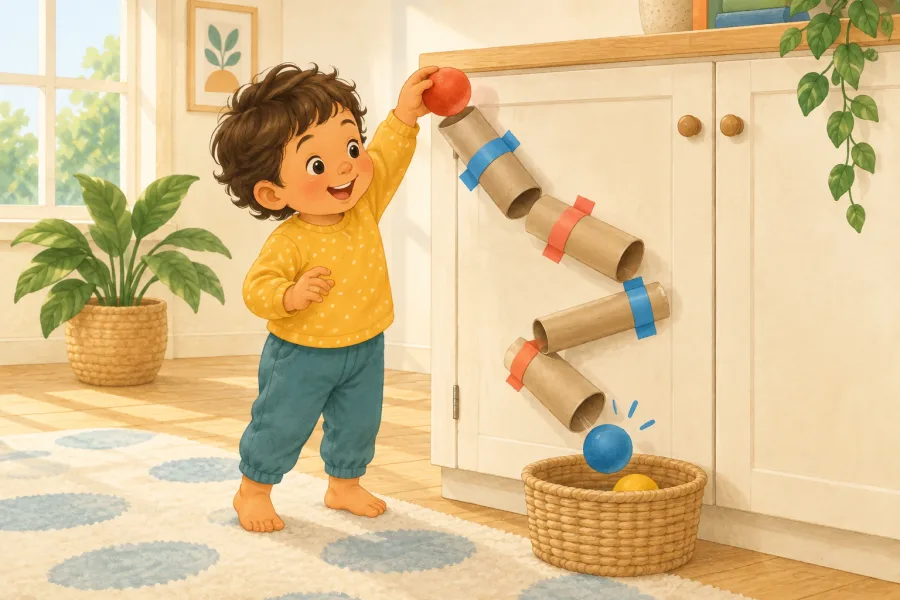
Cardboard Tube Drop
Tape paper towel tubes to the wall, hand over a cup of pom-poms, and watch gravity do the entertaining.