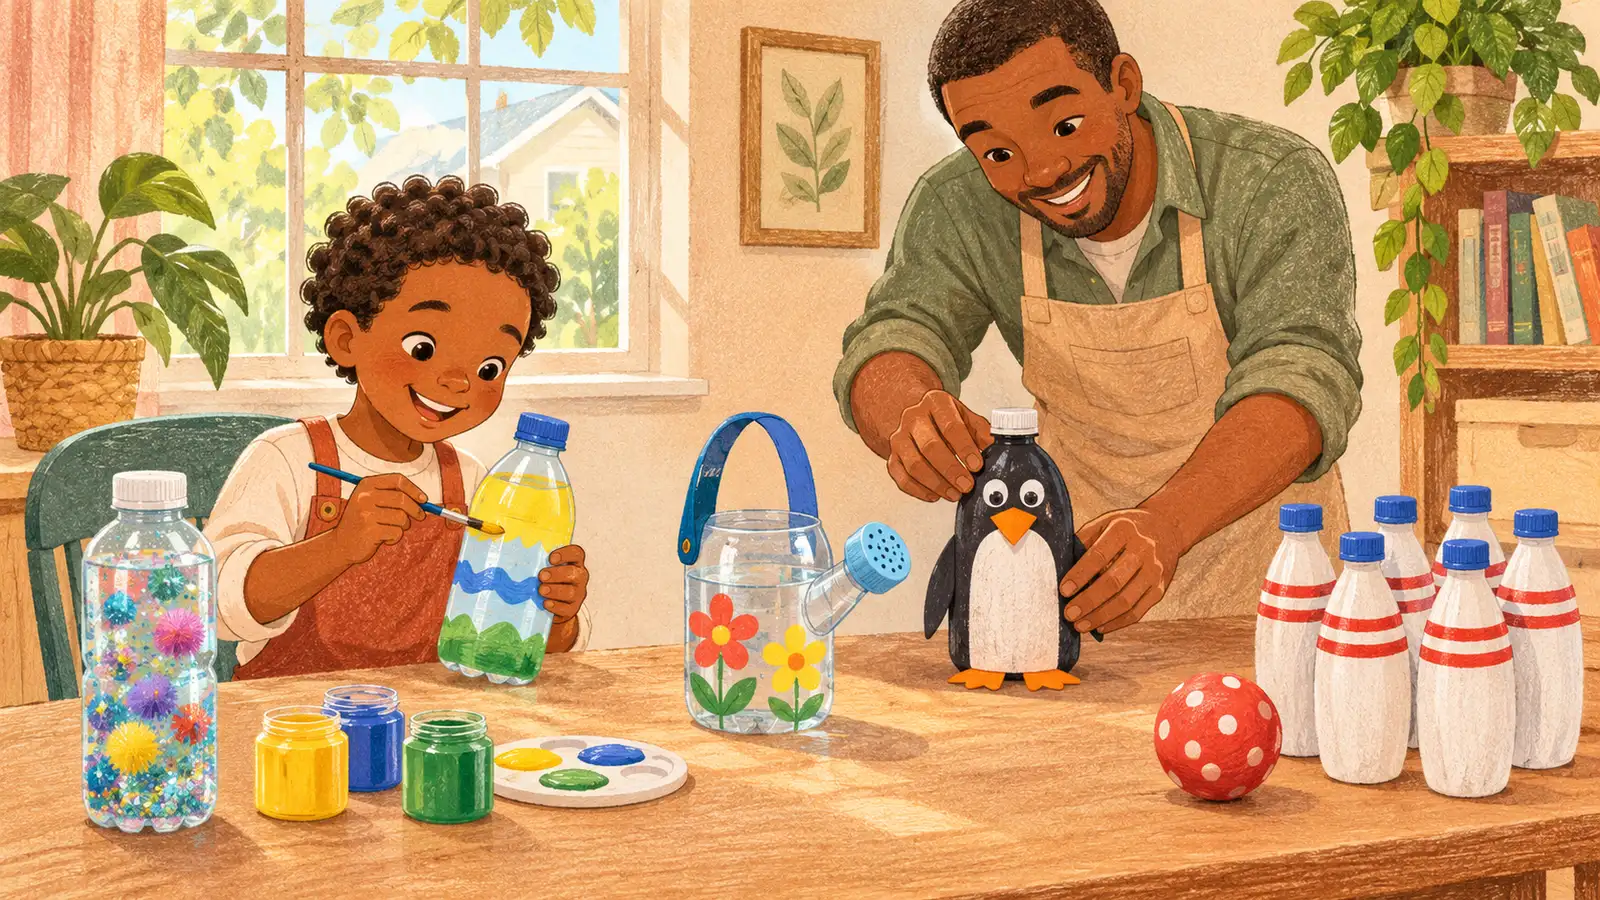
The recycling bin has six bottles in it, and your 5-year-old is holding one up like a trophy: “Can we make a robot?” Yes, but not the way they picture it. For ages 2 to 4, the best bottle crafts need no cutting at all. For older kids, you cut and they build, paint, and decorate.
Quick answer
- Kids 2 to 4 can do 7 bottle crafts with zero cutting: sensory bottles, shakers, posting games, bowling.
- Ages 4 to 6 can handle 9 more once an adult cuts the bottle and tapes the edge.
- Ages 6 to 10 can plan and assemble 9 bigger projects, from planters to a bottle boat.
- An adult does every cut, every time. Tape the raw edge before a child touches it.
- Skip bottles that held cleaners or medicine, and keep caps away from kids who mouth things.
Ages and times below are planning guides, not milestones. A craft that takes one 6-year-old 20 minutes might take your 6-year-old 45, and that’s fine.
Before you start: bottle prep and safety
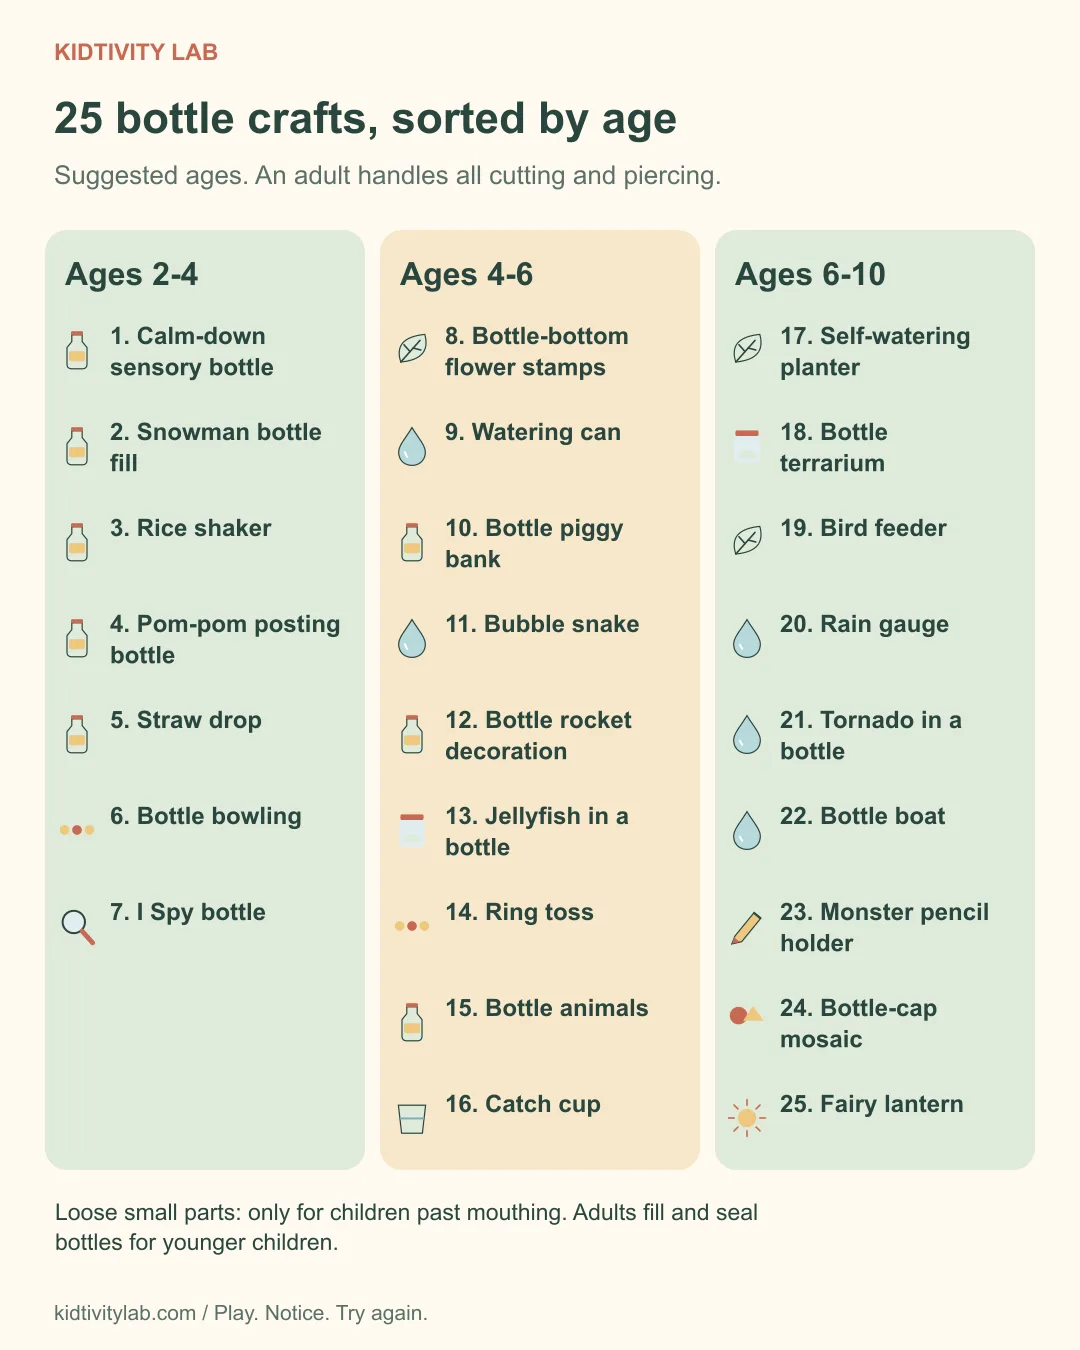
Rinse each bottle with warm soapy water and let it dry upside down overnight. Never use bottles that held household cleaners, bleach, or medicine, even after washing. Bottles from water, soda, and juice are the ones you want.
Only an adult cuts. A craft knife or sturdy scissors plus a cutting board is enough, and it goes faster if you cut all the bottles for a group before the kids sit down. Run a strip of masking tape along every cut edge so nobody gets scraped.
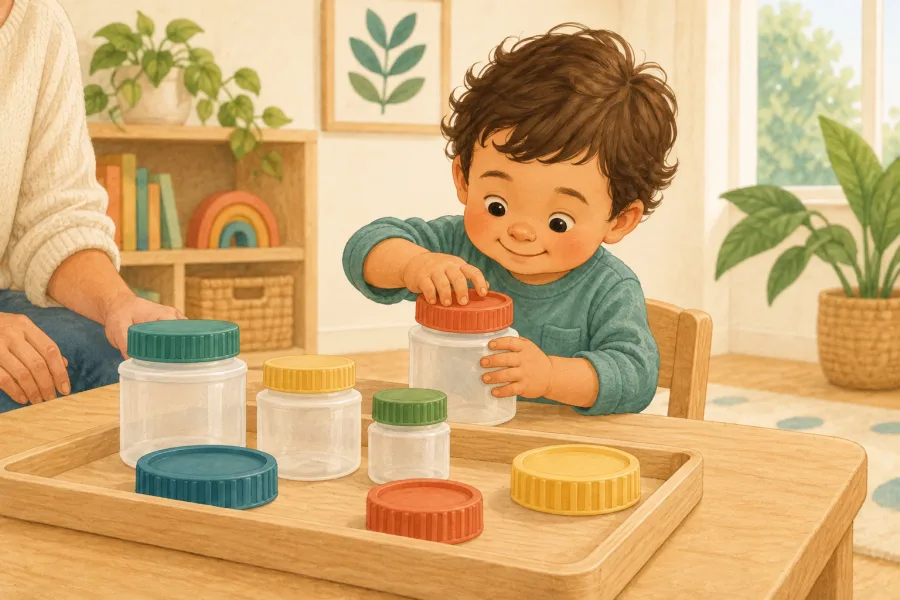
Caps and small parts are a choking risk for children who still put things in their mouths, which can include some 3- and 4-year-olds. For those kids, an adult fills and closes the bottle, and the cap gets glued shut. A hot glue gun stays in adult hands only.
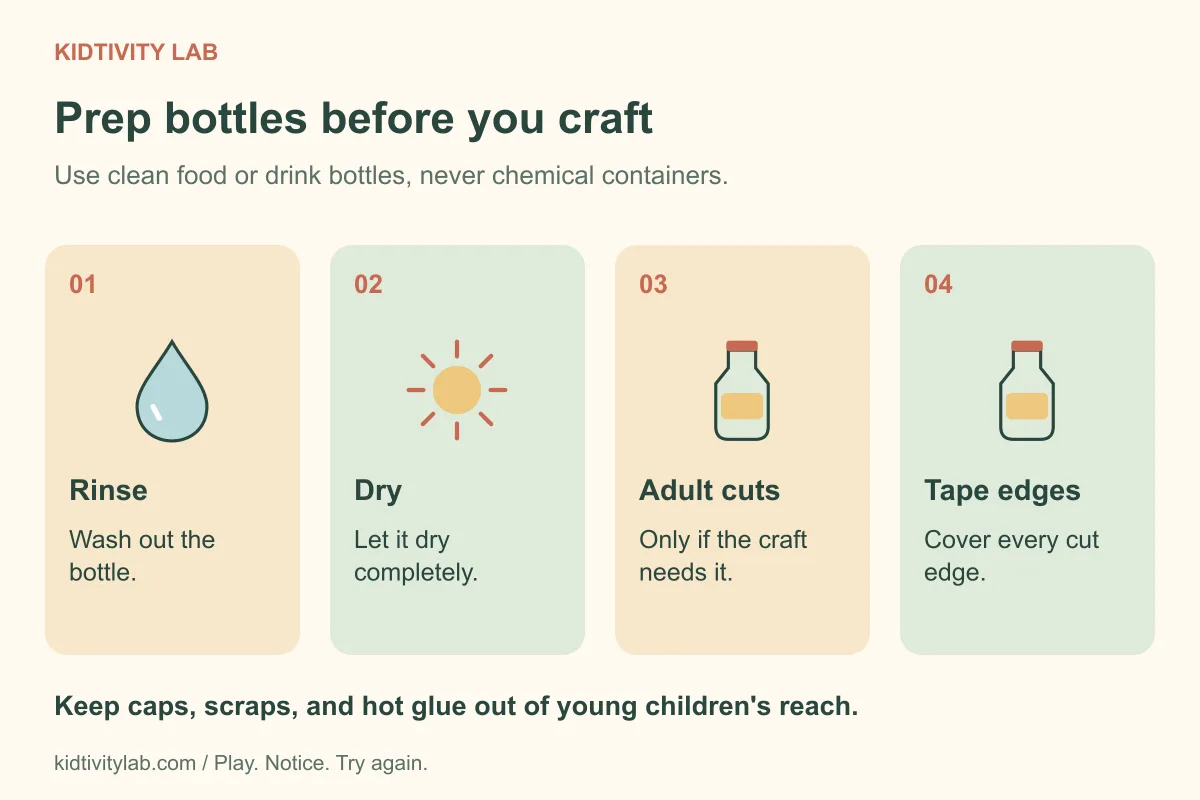
Grab the free plastic bottle craft picker at the bottom of this article. It lists all 25 crafts with age, time, and whether cutting is needed, so your child can tick off what they’ve made.
No-cut crafts for ages 2 to 4
Seven ideas that need no blade at all. An adult handles the glue and the cap, and the child does the filling, dropping, and shaking.
1. Calm-Down Sensory Bottle
Ages: 2-4 · Time: 15 min · You need: a clear bottle, water, glitter or sequins, dish soap, strong glue
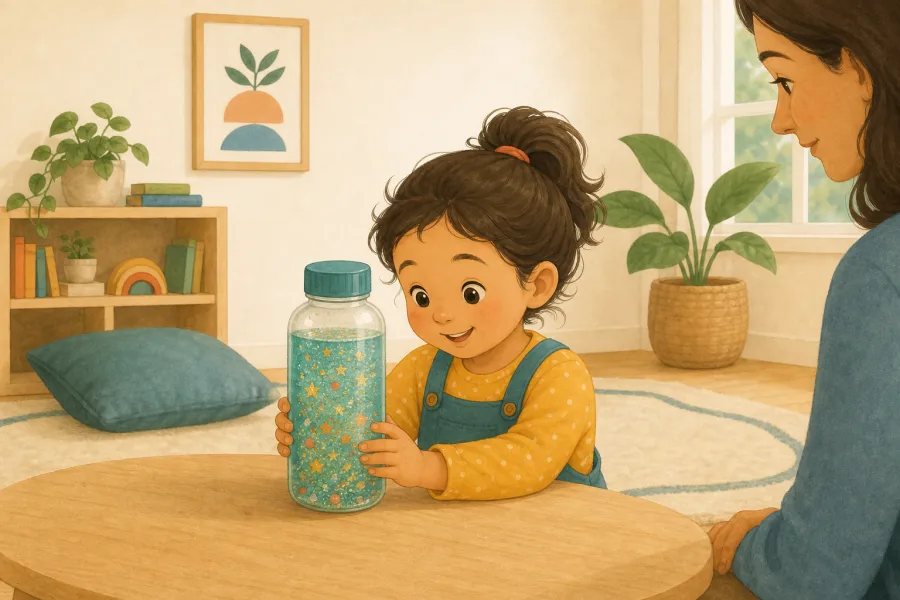
Make a glitter calm-down bottle together: your child pours in glitter and a drop of soap, you fill it with water and glue the cap on tight. Shake it and watch the sparkles settle. It doubles as a quiet-time tool on a hard afternoon.
2. Snowman Bottle Fill
Ages: 2-4 · Time: 15 min · You need: a clear bottle, cotton balls, paper scraps, markers, glue
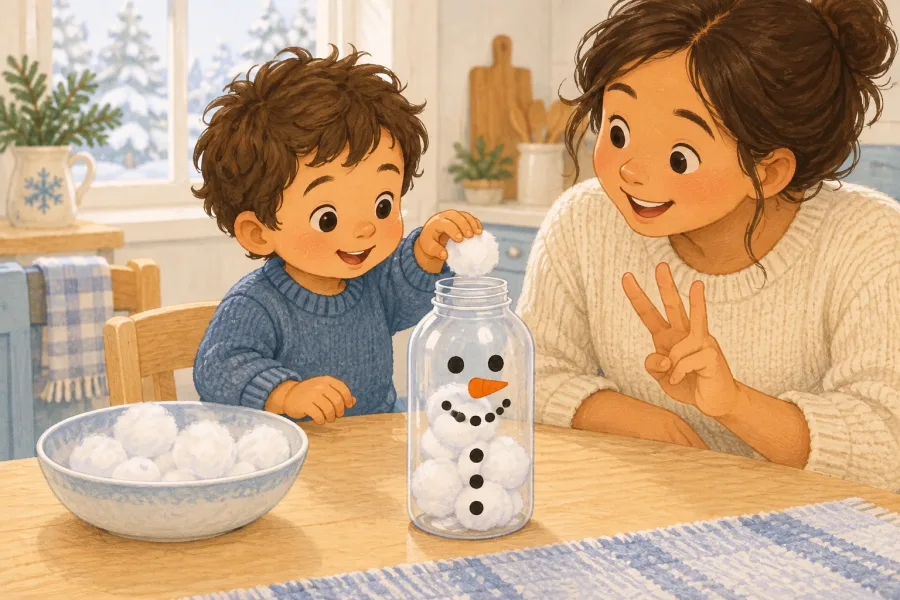
Try Snowman Bottle Fill: your child stuffs cotton balls and paper scraps into a bottle while you draw a face and buttons on the outside with markers. Glue the cap on and it becomes a winter decoration for the windowsill.
3. Rice Shaker
Ages: 2-4 · Time: 10 min · You need: a bottle, dry rice, a funnel or paper cone, strong glue
Pour dry rice into the bottle through a paper cone until it’s about a third full. Glue the cap on and let it dry fully before shaking. Two shakers with different amounts of rice make different sounds, which is half the fun.
4. Pom-Pom Posting Bottle
Ages: 2-4 · Time: 10 min · You need: a bottle, pom-poms
Take the cap off and show your child how to push pom-poms through the neck one at a time. It’s a slow, satisfying drop game for small hands. Pom-poms small enough to fit the neck are small enough to choke on, so sit right there, count them back into the bag afterward, and skip this one for a child who still mouths things.
5. Straw Drop
Ages: 2-4 · Time: 10 min · You need: a bottle, plastic straws, tape
Cut straws in half and let your child post them into the bottle neck. When the bottle is full, screw the cap on and tape it. The narrow opening asks for steady hands, and the rattle when they shake it is the reward.
6. Bottle Bowling
Ages: 2-4 · Time: 15 min · You need: 10 bottles, water, a soft ball
Line up ten bottles with a splash of water in each so they don’t blow over, and roll a soft ball at them. Fewer bottles for younger kids, all ten for a 4-year-old who wants a real game. Set it up in a hallway or on a patio.
7. I Spy Bottle
Ages: 2-4 · Time: 15 min · You need: a clear bottle, dry rice, small toys, strong glue
Drop a handful of small toys into the bottle, fill it most of the way with rice, and glue the cap shut. Your child turns it to find each item, and you can name what they spot. Let the glue set before you hand it over, since the rice and tiny toys must stay inside.
Ages 4 to 6
Nine ideas for kids who can follow a short set of steps. An adult still does the cutting and any hot glue.
8. Bottle-Bottom Flower Stamps
Ages: 4-6 · Time: 15 min · You need: an empty soda bottle with a bumpy bottom, washable paint, paper, a shallow plate
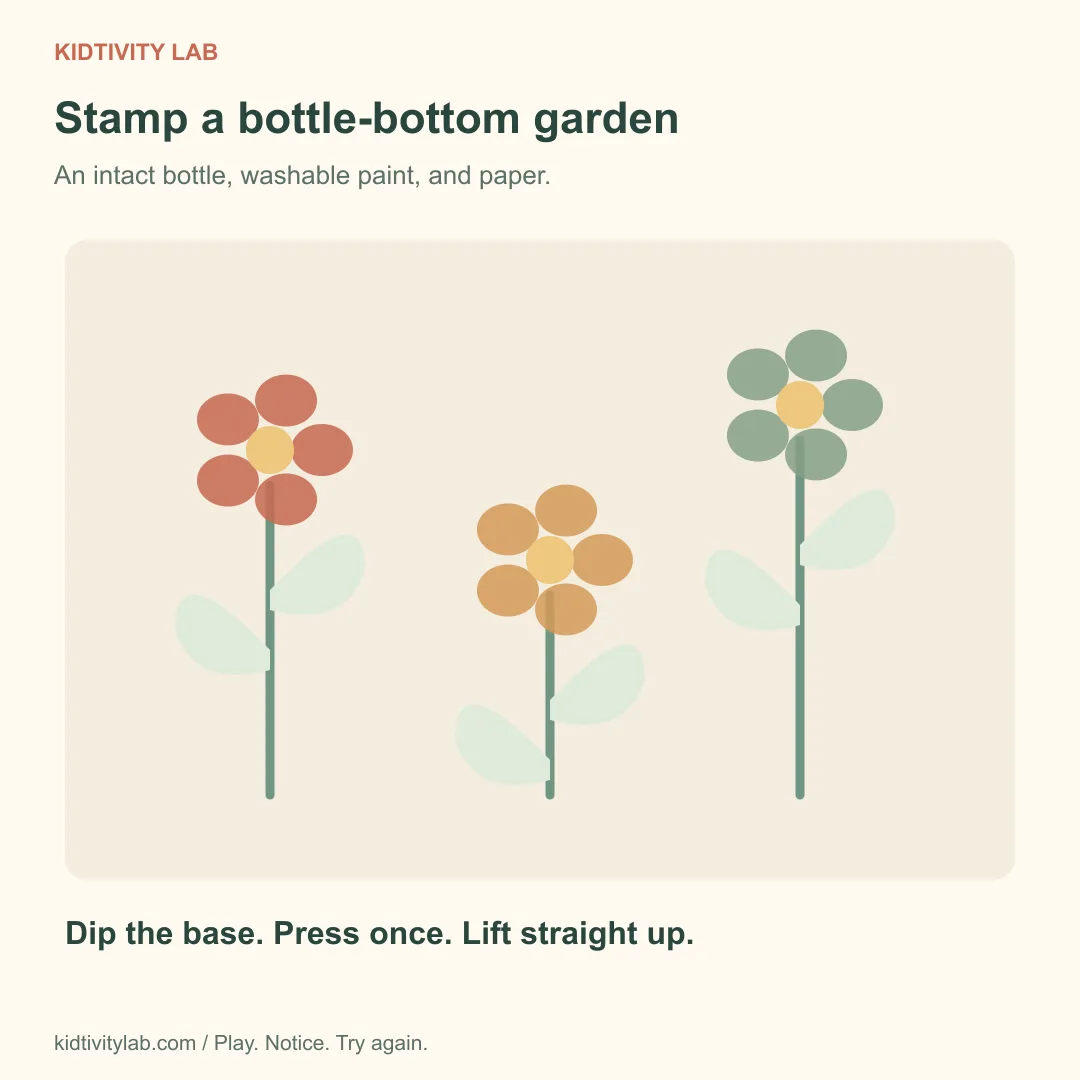
No cutting here: the whole bottle is the handle. Your child dips the bumpy bottom in paint on a shallow plate and presses it onto paper, and the bumps print a five-petal flower. Repeat in different colors, then draw green stems once the paint dries.
9. Watering Can
Ages: 4-6 · Time: 15 min · You need: a bottle with a cap, a nail and hammer (adult only), water
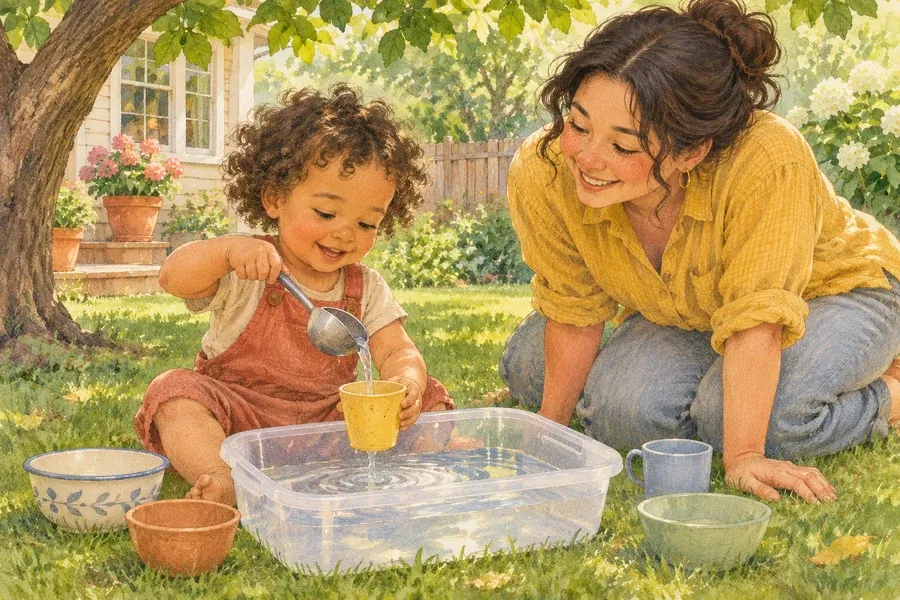
An adult taps a few small holes in the cap with a nail, resting the cap on a scrap of wood, then fills the bottle with water and screws the cap on. Your child waters the plants outside and watches the streams come out. Test it over a sink first so the first pour isn’t a surprise.
10. Bottle Piggy Bank
Ages: 4-6 · Time: 20 min · You need: a bottle, a craft knife (adult), paint, stickers, tape
An adult cuts a coin slot in the side of the bottle, then tapes the edges. Your child paints it, adds stickers, and starts saving coins. To empty it, unscrew the cap and shake the coins out.
11. Bubble Snake
Ages: 4-6 · Time: 15 min · You need: a bottle, an old sock, dish soap, water, a rubber band
An adult cuts the bottom off a bottle and stretches a sock over the cut end, held with a rubber band. Dip the sock in soapy water and have your child blow through the neck to make a long foam snake. Blow only, never suck in, and keep soapy water away from eyes.
12. Bottle Rocket Decoration
Ages: 4-6 · Time: 20 min · You need: a bottle, paper, cardstock, tape, markers, foil
This one is decoration only, no launching. Wrap paper around the bottle and tape it, then add fins cut from cardstock and a paper cone on top. Your child names the rocket and draws a mission patch. It makes a good shelf trophy for a space-loving kid.
13. Jellyfish in a Bottle
Ages: 4-6 · Time: 20 min · You need: a clear bottle, a plastic bag, water, food coloring, strong glue
Cut a square from a thin plastic bag, pinch the center around a small bubble of air, and tie it off with thread to make the head. Snip the loose edges into tentacles, then push it into a bottle of water with a drop of blue food coloring. Glue the cap on and tip the bottle to watch the jellyfish drift. Keep spare plastic bags away from younger siblings.
14. Ring Toss
Ages: 4-6 · Time: 15 min · You need: bottles, paper plates, tape, a marker
Stand a few bottles upright with a little water in each, and cut the centers out of paper plates to make rings (adult job). Mark a throwing line on the floor and take turns tossing. Move the line back for older kids and keep it close for a 4-year-old who wants to win.
15. Bottle Animals
Ages: 4-6 · Time: 20 min · You need: a bottle, acrylic paint, paper, glue, googly eyes
Paint a bottle (acrylic sticks to plastic better than washable paint) and turn it into a penguin, an owl, or a fish with paper wings, beaks, and eyes glued on. Let the paint dry before adding paper parts, or they slide off. A row of three makes a nice shelf display.
16. Catch Cup
Ages: 4-6 · Time: 20 min · You need: the top half of a bottle, string, a small ball, tape (adult cuts)
An adult cuts the top off a bottle and tapes the raw edge, then ties a string to the neck with a small ball at the other end. Your child swings the ball and tries to catch it in the cup. It’s a simple hand-eye game that keeps kids busy for longer than you’d expect.
Ages 6 to 10
Nine projects for kids who can plan a few steps and work mostly on their own, with you handling the knife and the glue gun.
17. Self-Watering Planter
Ages: 6-10 · Time: 25 min · You need: a bottle, a craft knife (adult), soil, a seedling, a strip of cotton or felt
An adult cuts the bottle in half and pokes a hole in the cap. Your child pours water into the bottom half, threads the cotton strip through the cap, sets the top half neck-down inside the bottom, and adds soil and a seedling. The strip pulls water up so the plant drinks slowly. Set it in a sunny spot and check the water level every few days.
18. Bottle Terrarium
Ages: 6-10 · Time: 25 min · You need: a large clear bottle, gravel, soil, small plants, a spray bottle
An adult cuts the bottle open wide, and your child layers gravel, then soil, then small plants and moss. Mist it, tape the top back on, and set it somewhere bright but out of direct sun. Condensation on the inside means the little garden is working.
19. Bird Feeder
Ages: 6-10 · Time: 25 min · You need: a bottle, a craft knife (adult), string, birdseed, two sticks
An adult cuts openings in the sides and pokes holes for the sticks, then your child fills the bottle with seed and hangs it from a branch. Hang it high enough that cats can’t reach it. Refill it together and keep a count of what shows up.
20. Rain Gauge
Ages: 6-10 · Time: 20 min · You need: a straight-sided bottle, a marker, a ruler, water
An adult cuts the top off a straight-sided bottle. Pour in water up to where the sides turn straight and draw the zero line there, then your child marks inches up from it with a ruler. Flip the cut-off top into the bottle as a funnel. Set it outside before a rainy stretch and check it each morning. Write down the numbers for a week and compare the days.
21. Tornado in a Bottle
Ages: 6-10 · Time: 20 min · You need: two bottles, a washer, strong tape, water, a drop of food coloring
Fill one bottle two-thirds with water, add a drop of food coloring, and tape the second bottle on top with a washer between them. Flip it and swirl to make a tornado. Tape it well, because a leaky joint makes a puddle fast.
22. Bottle Boat
Ages: 6-10 · Time: 20 min · You need: a bottle with a cap, waterproof tape, a craft stick, paper, a small paper cup, coins
No cutting: screw the cap on tight, lay the bottle on its side, and tape on a craft-stick mast with a paper sail. Tape a small paper cup behind the mast as the cargo hold. Float it in the tub or a bucket and add coins one at a time to see how many it carries before it tips. Keep the test in shallow water and stay nearby.
23. Monster Pencil Holder
Ages: 6-10 · Time: 20 min · You need: a bottle, a craft knife (adult), paint, googly eyes, felt
An adult cuts the top third off a bottle, and your child paints it, glues on eyes, and adds felt teeth around the rim. It holds pencils, markers, or paintbrushes. A row of three monsters in different colors makes a desk look less like a pile.
24. Bottle-Cap Mosaic
Ages: 6-10 · Time: 25 min · You need: bottle caps, cardboard, glue, paint
Sketch a simple shape on cardboard, then have your child glue bottle caps inside the lines, sorting by color as they go. Older kids can plan a pattern first; younger ones can fill it in as they like. Let it dry flat overnight.
25. Fairy Lantern
Ages: 6-10 · Time: 20 min · You need: a bottle, tissue paper, glue, a battery LED candle
An adult cuts a window in the bottle, and your child glues tissue paper over it and decorates the outside. Drop in a battery LED candle only, never a real one. It makes a soft night-light for bedtime stories.
Tips for classroom or group projects
Plan on two bottles per child so there’s room for a mistake, and ask families to rinse theirs before sending them in. Cut everything the night before, tape every edge, and set the cut pieces out in labeled bins by craft.
If you don’t want a hot glue gun in the room, use double-sided tape for paper parts and white glue for anything that can dry flat on a rack. Give glue ten to fifteen minutes before kids handle the piece.
For more ideas on a wet afternoon, browse our rainy day activities and indoor activities.
What to do with the crafts after
Take a photo of each finished craft and keep the pictures in one folder. Send the best ones home to grandparents, or let your child pick a favorite for the shelf. Anything that’s falling apart or never got finished can go in the recycling bin, though not every program accepts decorated bottles, so check your local rules first.
Common questions
What can kids make with plastic bottles?
The easiest starting points are a sensory bottle, a shaker, and a posting game, all of which need no cutting. Older kids can build planters, bird feeders, boats, and pencil holders.
How do you cut a plastic bottle safely?
An adult does the cutting with a craft knife or sturdy scissors on a cutting board, never a child. Tape the cut edge with masking tape before anyone handles it, and keep caps and small pieces away from kids who mouth things.
What age can kids do recycled crafts?
Kids as young as 2 can do the no-cut crafts with an adult filling and closing the bottle. From about 4, they can paint and assemble once you’ve done the cutting. Ages 6 to 10 can plan and build most projects with you nearby.
How do you make a sensory bottle?
Fill a clear bottle with water, a spoon of glitter or sequins, and a drop of dish soap, then glue the cap on tight. Shake it and watch the glitter settle. It’s a calm-down tool and a craft in one, and it takes about fifteen minutes.